The Garden Project
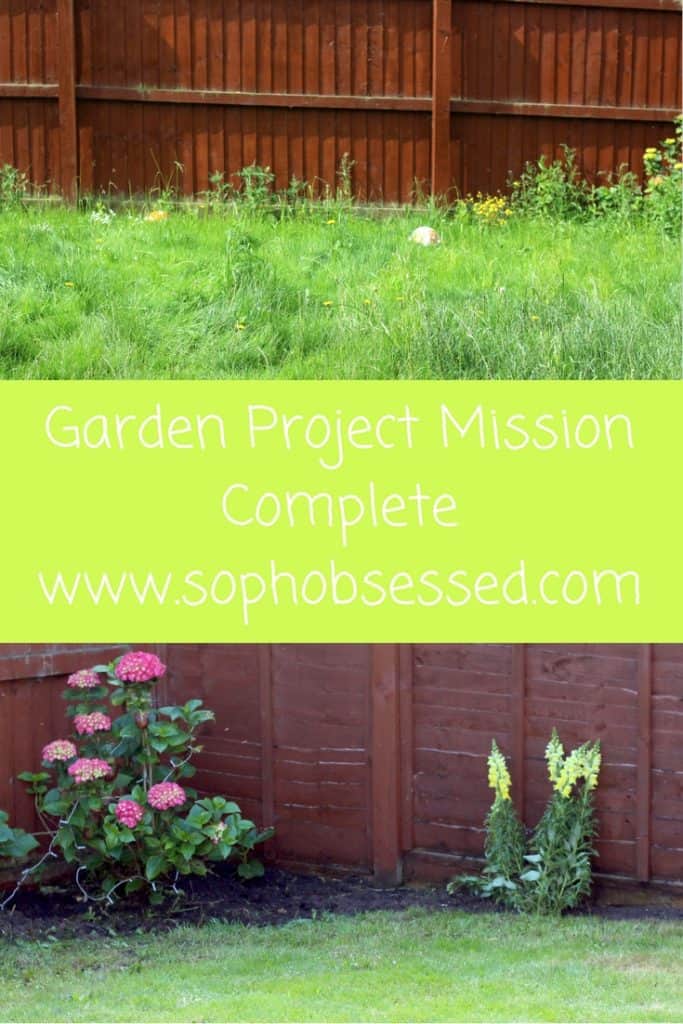
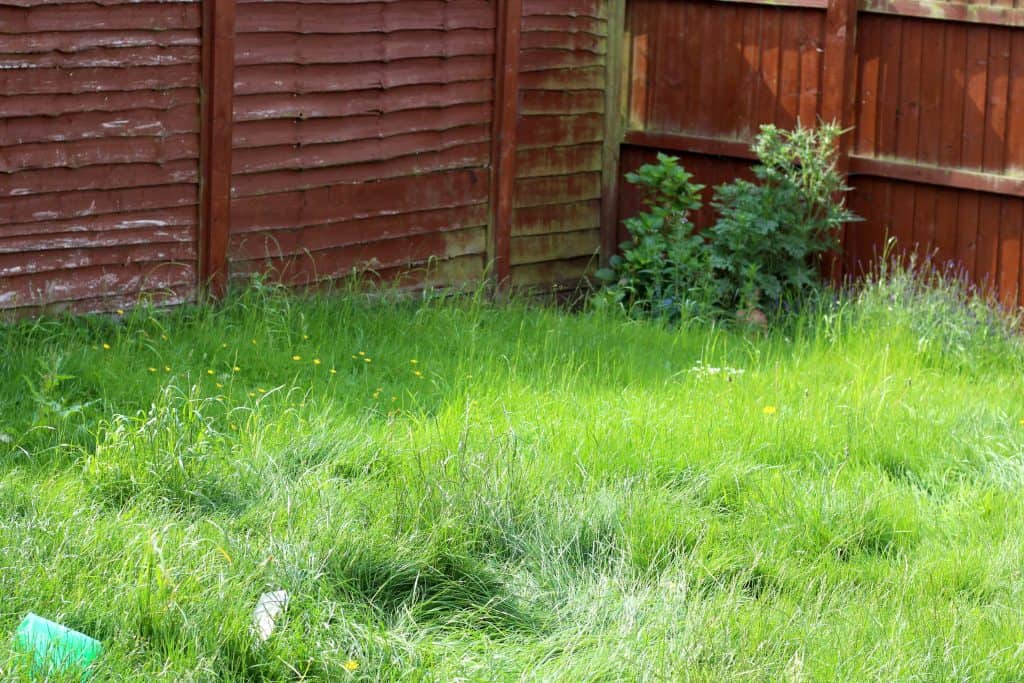
So as you know ‘The Garden Project’ is in full swing! We cut the lawn which was a big job and now it’s time get the rest in ship shape!!
Pruning, Cutting Back, Getting Rid & Tying it all Together
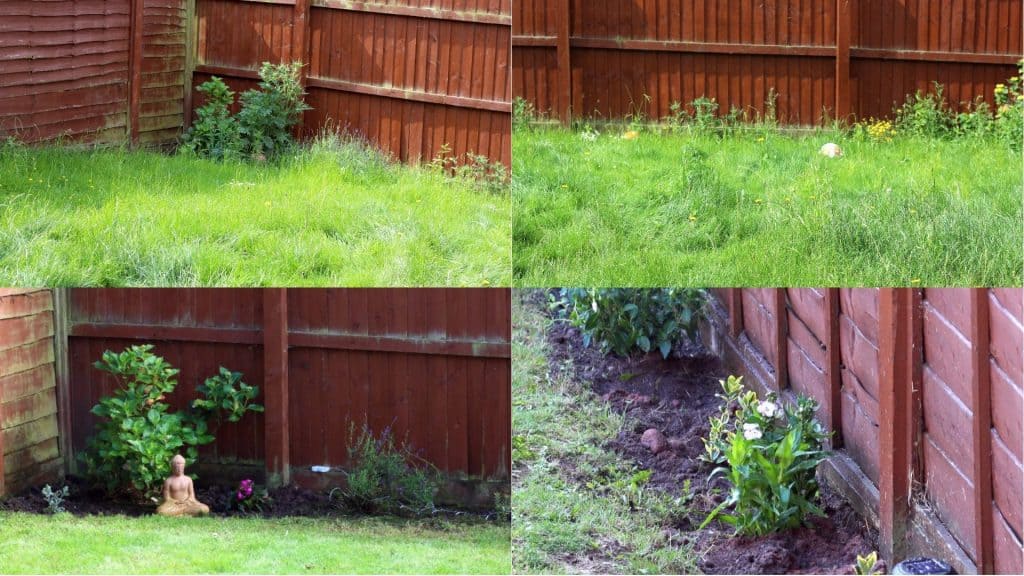
Initially there were a few plants, shrubs and small trees that had been planted way back when I had big dreams and aspirations for the garden. However, what had in fact happened was they had been left and severely neglected, never pruned and left to completely do as they will!! Some of the branches were thick. Most were out of control bound in with weeds. It’s a surprise anything managed to survive but what that did mean though was there was a whole lot of pruning, cutting back and getting rid of we needed to do. Time to get my Marigold Garden Gloves on!
First Step – Weed Control
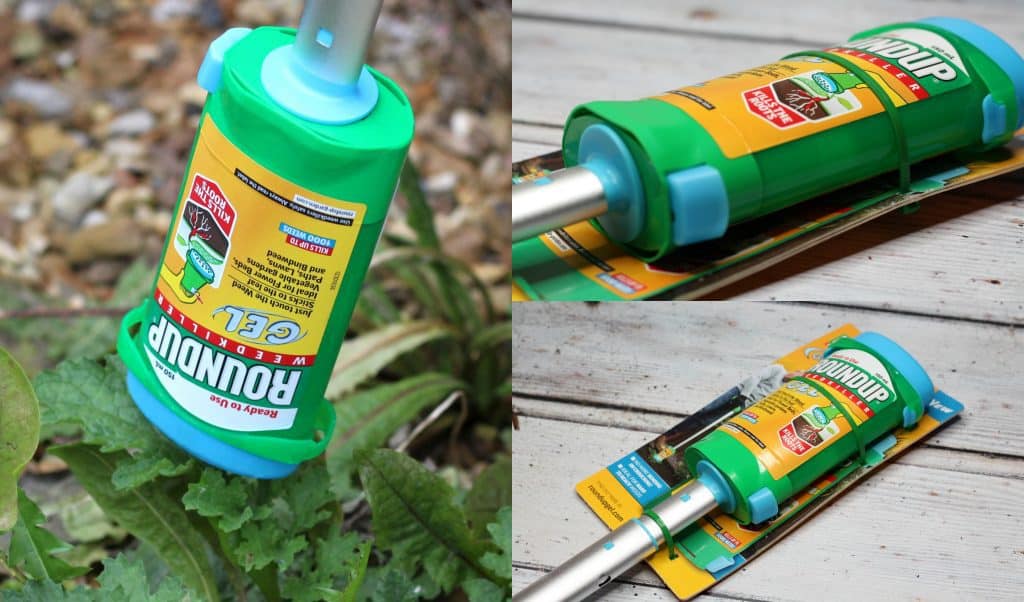
I went about killing as many of the weeds as possible a few days before using the Round Up Gel Wand which was so easy to use and absolutely the best and easiest weed killer I have ever tried. There is no need to spray, no waste and you don’t have to bend down! The long handle means reaching toward the back of the borders was so simple and easy and even the really thick weeds that had really set in weren’t a challenge. I wanted to make sure that the weeds were dead otherwise in a few weeks the borders would be just over run again.
Second Step – Pruning, Cutting & Pulling Out
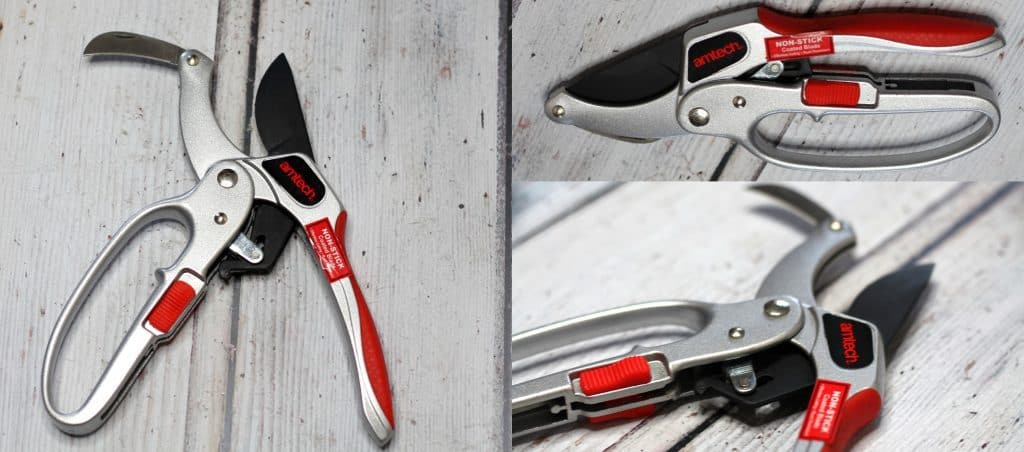
Using the 4 in 1 Deluxe Ratchet Pruner from Amtech with its non-stick carbon steel blade, ergonomic handle and even an oil sponge and sharpener, I began pruning back some of the overgrown shrubbery. As it has a ratchet action it meant that even the thick stems weren’t a problem. I used this to simply and easily prune back the shrubs and plants in the border of the back garden that were out of control. I also removed any dead branches so we just had healthy plant left.
With the Mini Ratchet Lopper from Amtech, we could cut back the small and medium sized branches with ease. I have never used a lopper before but it was light weight and took very little effort. The blades were also non-stick coated which was a bonus.
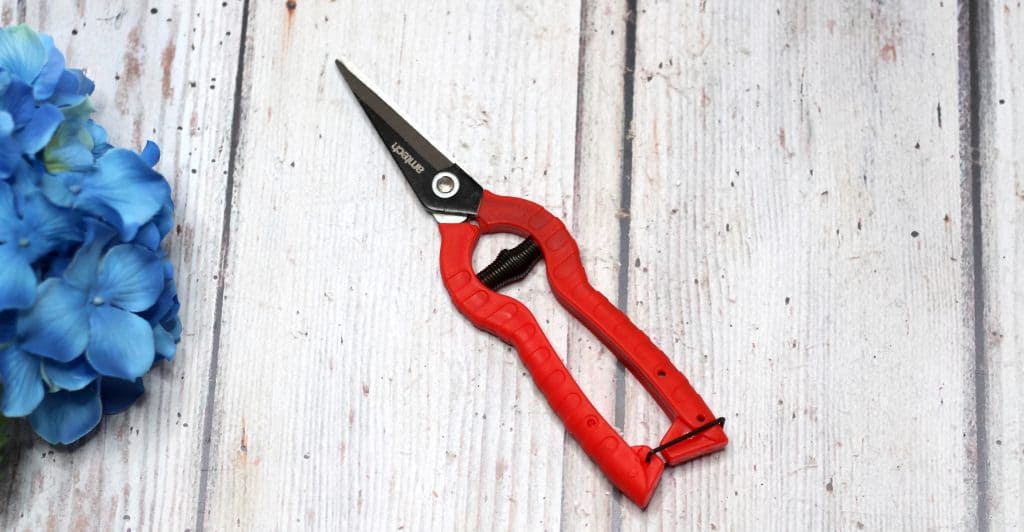
To neaten everything up and for all the precise pruning we used the Precision Secateur also from Amtech, which despite its size was extremely effective. The carbon steel blades are sharp and the handle is spring loaded. It also has a little locking grip which was ideal for safety and storage.
Third Step – Neaten Up
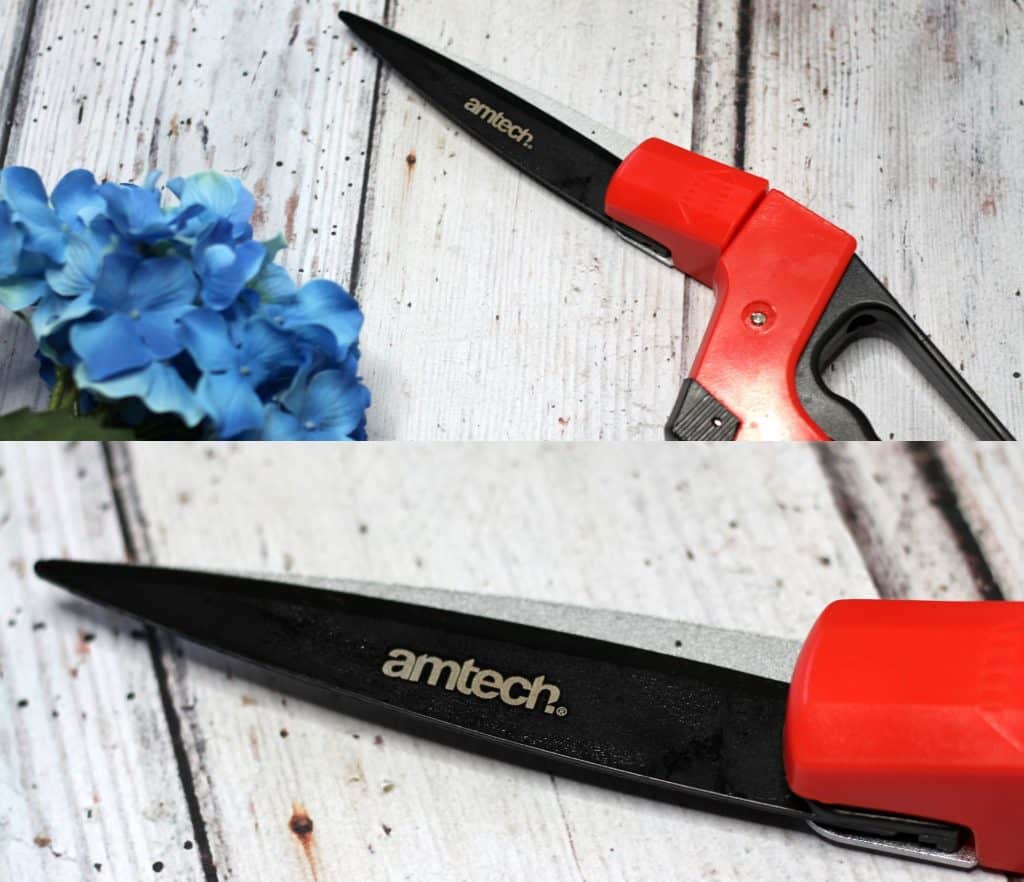
To make sure the lawn edges that were hard to get to still looked neat and trim I used the Rotating Grass Shears from Amtech. They are so simple and easy to use and can rotate 180 which means you can cut at any angle. The blades are non-stick which prevents rusting and there is a locking mechanism for safety and storage which is ideal as these are sharp! These are ideal tools to use in places you are unable to strim or if you are going near plants etc.
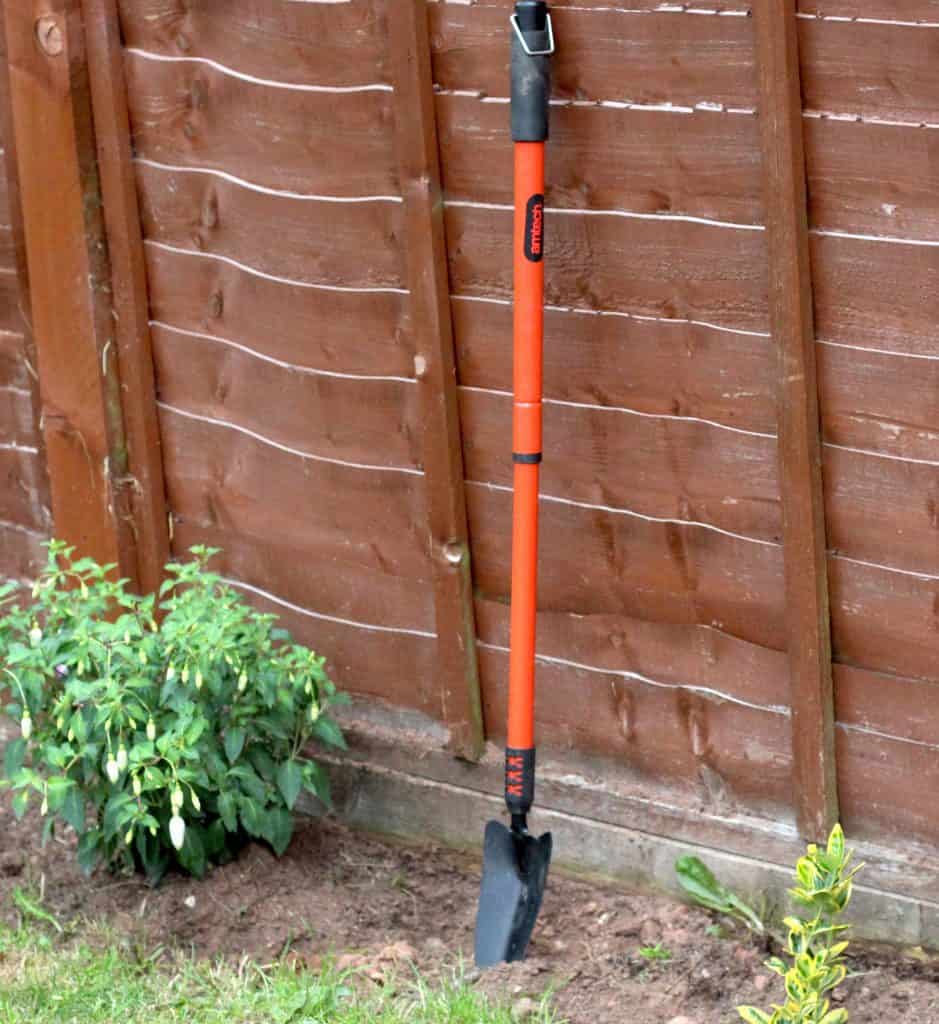
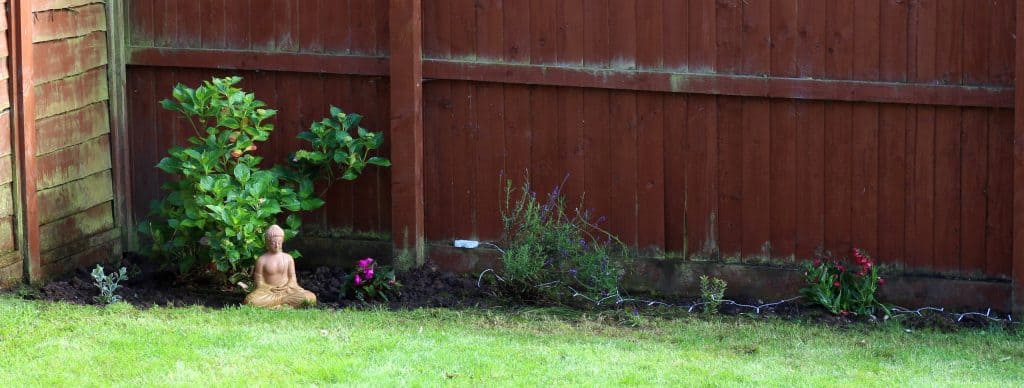
Now that the borders were ship shape, the old was removed and everything else was neat and pruned back it was time to add some nice new plants that would bring colour and fill the gaps. I bought the plants from B&Q and chose a selection of hardy shrubs that wouldn’t need replacing combined with a few bright flowering plants. When it came to planting, I used the Amtech Telescopic Hand Trowel which just made the process simple. The handle is comfortable to grip and extends so you don’t have to break your back. It is also light weight and easy to store.
Fourth Step – To the Front
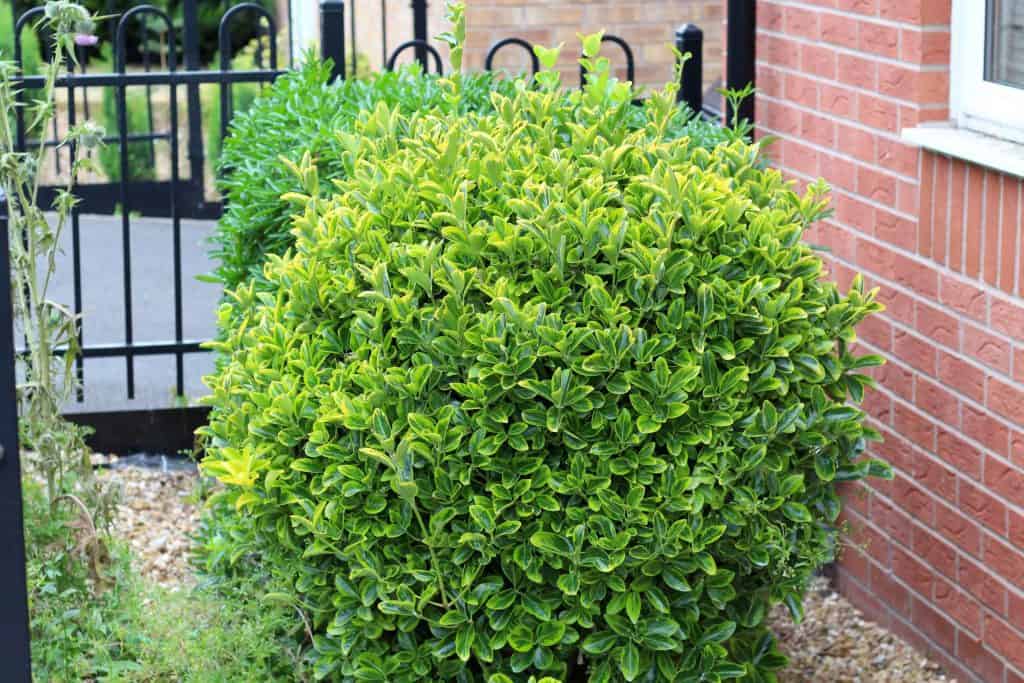
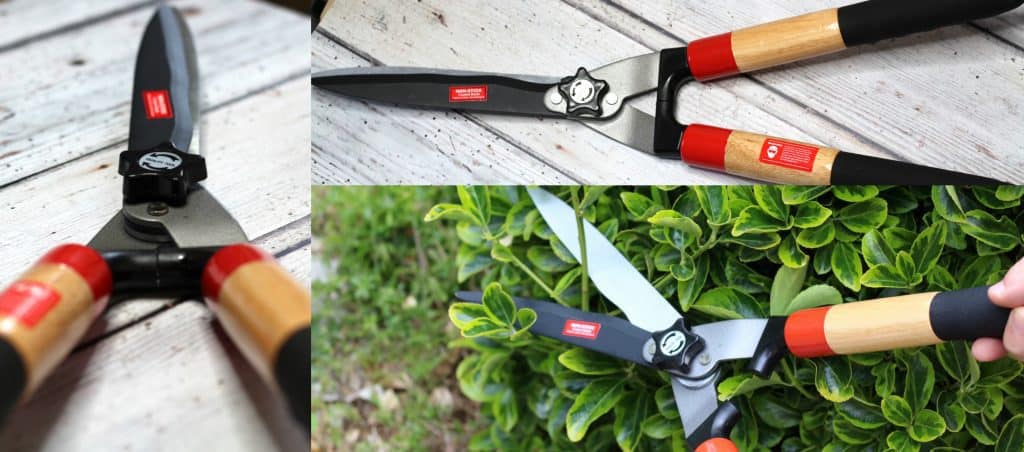
At the front of the house we have two bushes which needed re shaping. For this the Deluxe Garden Shears from Amtech were fantastic. The handles were comfortable to hold and they weren’t overly weighted which made doing this, for the first time so much easier than I thought it would be. They are fitted with a tension adjuster and blade cover and are extremely effective and sharp.
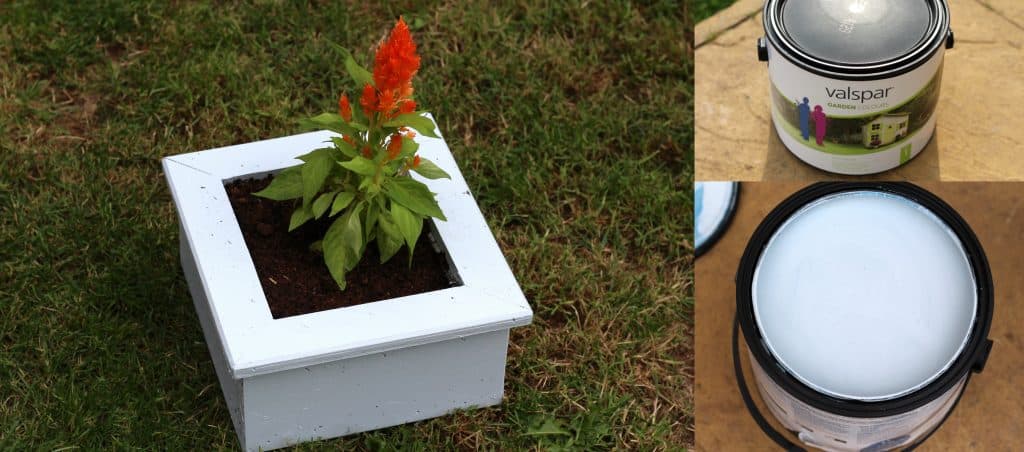
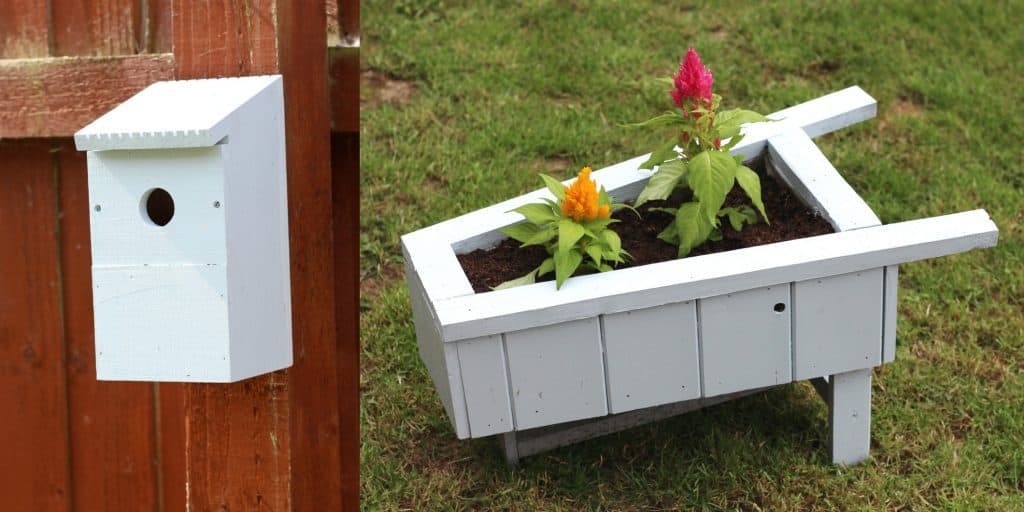
There isn’t a lawn or border area at the front of the house but I did want to add some colour so I took a wooden planter box I had from a while ago and painted it with some Valspar Garden Paint in a beautiful pale blue. The paint won’t peel or crack and is weather proof and offers UV protection so the pot won’t look shabby in a few weeks!! The touch of colour in the paint just made the box stand out which was nicely complimented by adding some pretty flowers.
Fifth Step – Watering & Feeding
As the grass had been neglected it needs some extra TLC to nurture it back to health. I used a liquid lawn feed I picked up from Tesco which I have used in the past and found quite effective. I am always nervous when it comes to lawn feeding because I have ‘over done’ it before and ended up burning the grass. That’s why I tend to stick to the one I know seems to work but that is much harder to ‘over do.’ You simply make the feed up in a watering can and apply to the grass as directed.
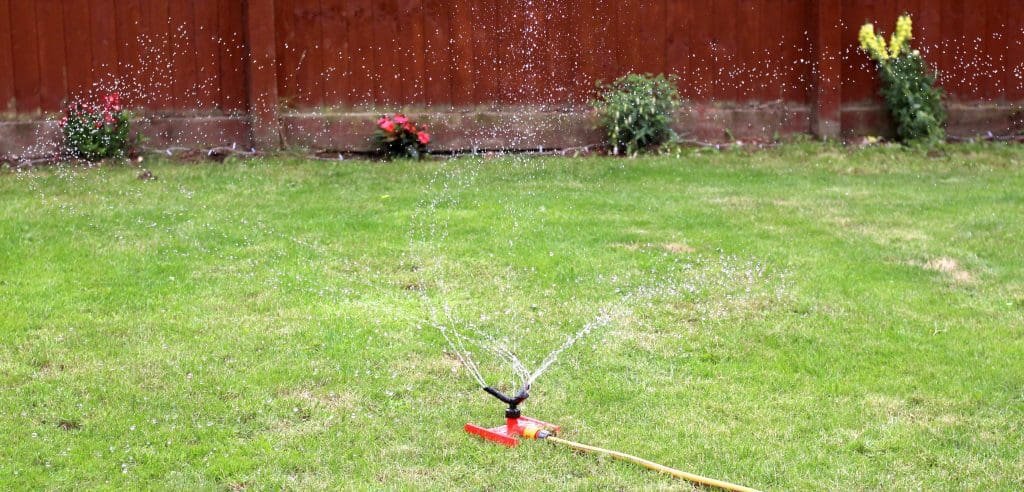
Along with feeding the grass it is essential to make sure it is well watered and as we were having a small dry spell I used the Amtech 3-arm sprinkler which was easy to attach to the hose and was effective at watering the whole garden without needing to be constantly moved around.
Of course, the new plants also needed to be watered regularly so I used the Amtech 6 Function Spray Gun which made it easier. It attaches simply to the hose pipe and has several varied settings perfect for any of the jobs I would ever need it for.
Sixth Step – Finishing Touches to ‘The Garden Project’
With the same Valspar paint, I used on the wooden box planter at the front of the house I also painted a wooden wheelbarrow planter I had and a cute wooden bird box I got from Aldi. They just add a nice pop of colour that brightens everything up. I added some of the bright pretty plants I bought from B&Q and it brought everything nicely together.
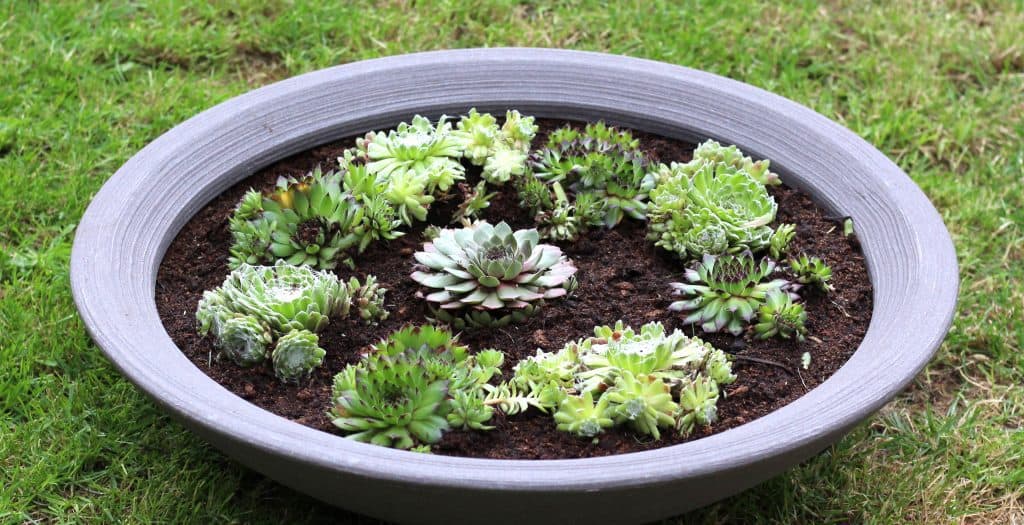
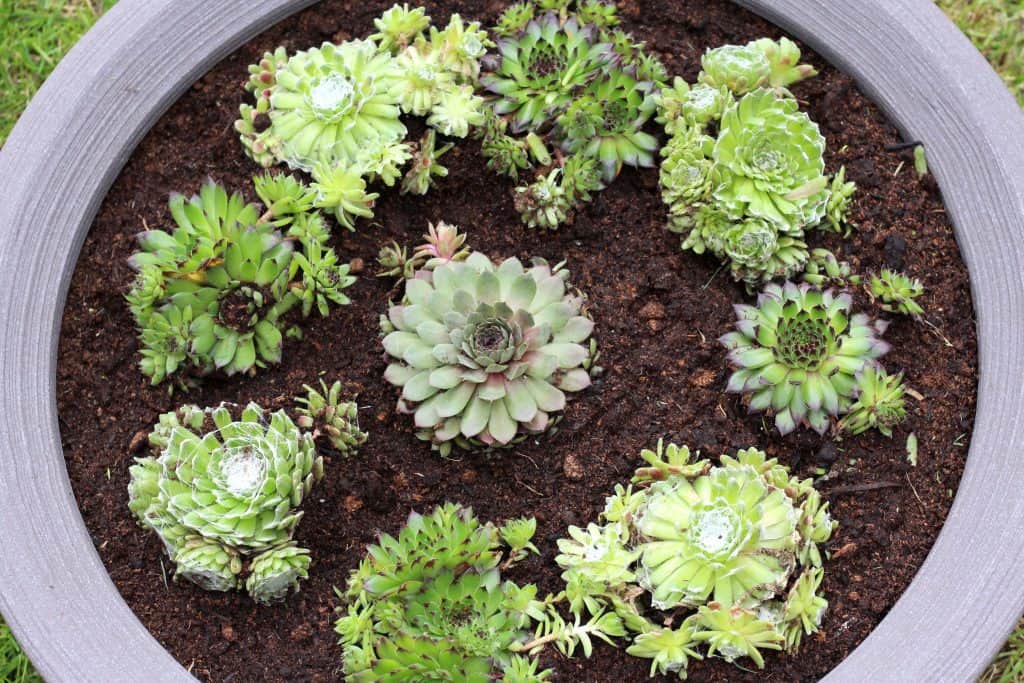
In the Varese Low Bowl Planter I got from Stewart Garden I planted some pretty succulent plants. Succulents are hardy, low maintenance plants that add a different edge to the garden without taking up too much time! The planter is easy to move but weighted enough once full so it won’t blow around. I love that it’s a low planter too which gives a large surface area but doesn’t have to be filled too deep which is perfect for succulent type plants!
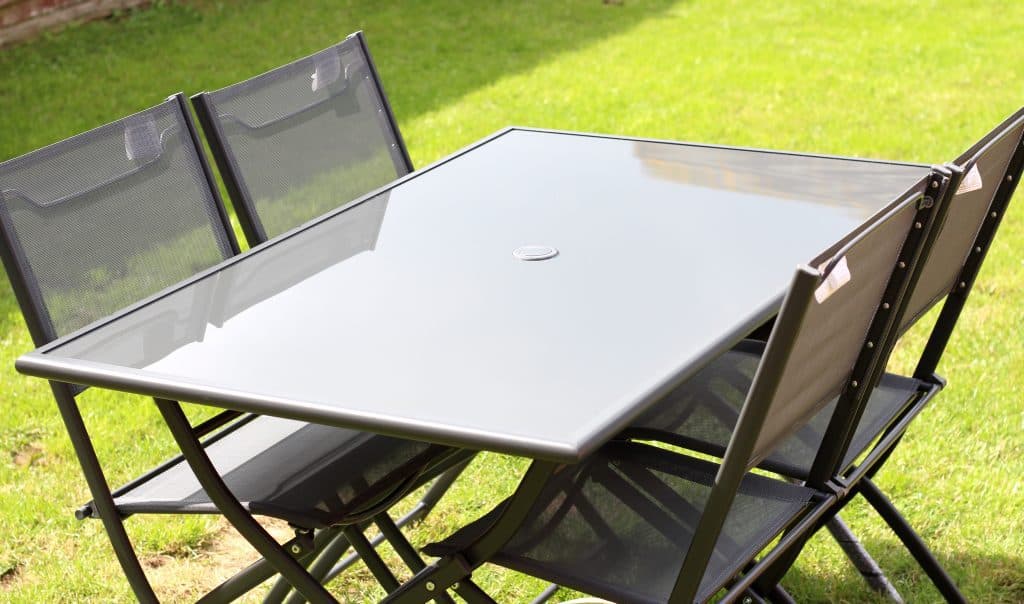
I also bought a metal and glass table and four chairs from B&Q in the sale for £50! It required no building and folds up nicely when you want to put it away. It’s really sturdy and you could easily add two more chairs to make it for six people! We just need to get a nice parasol umbrella to finish it all off!
And Done…
Wow that was a project and a half! I certainly am not a professional gardener by any stretch of the imagination but having undertaken much of this project alone with only a bit of hubby help I am very proud. We now have a space to sit in and enjoy this Summer and combined with the lights we have from VARTA the garden is finally how I wanted it. I only hope that the weather holds up so we can get some use out of it!!
Have you undertaken a garden project before? Are you planning a garden project this year? Leave any tips or tricks to help others in the comments below!!
Products Used in ‘The Garden Project’ & Where to Purchase:
Marigold Garden Gloves
Amtech:
- 4 in 1 Deluxe Ratchet Pruner
- Mini Ratchet Lopper
- Precision Secateur
- Rotating Grass Shears
- Telescopic Hand Trowel
- Deluxe Garden Shears
- 3-arm sprinkler
- 6 Function Spray Gun
RoundUp Gel
B&Q:
- Plants – In store
- Table & Chairs – Not in stock some similar ones here
Valspar Garden Paint – In store at B&Q
Liquid Lawn Feed – Not in stock but similar ones here
Varese Low Bowl Planter
Wooden Bird Box – Aldi In store
Thank you so much for stopping by! To see more about ‘The Garden Project’ head over here.
Love as always!
Mo re From Me
*Don’t Forget you can sign up to my newsletter quick and easily by entering your details in the sidebar.*
If you want to know more about me head over to this page. Do you like posts like this? It’s free and easy to follow me on Bloglovin. Don’t forget to check out my YouTube channel where I post beauty, life, shopping and make-up related videos. You can find all of my social media links in the side bar! Thanks so much for reading!
*I received some of these items on a gifting basis as part of The Garden Project, Only items I used and would recommend have been included. Some links may be affiliate links. As always all words, opinions and views are my own. For more information on any of this please head over to this page.

